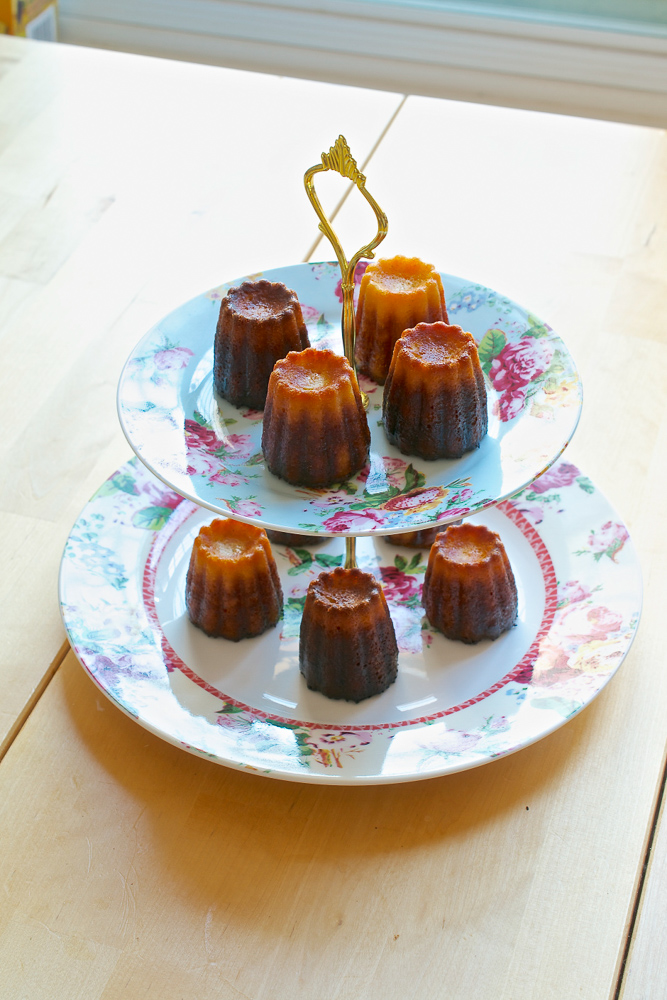
Gluten Free Canelés
***Note the best canelés are made when the batter is rested for 2 days in the fridge first.***
Servings: 18
: 104 kcal
Ingredients
- 1 pint whole milk 568mls or 2¼ cups
- 1 vanilla bean
- 30 g soft butter
- 180 g caster sugar
- 100 g gluten free plain flour
- 3 eggs
- Fat pinch of sea salt
- 80 ml dark rum
Instructions
-
Split your vanilla bean and scrap out the seeds – add to a saucepan with your pint of milk and bring to the boil. Once bubbling, add in the butter and take off the heat.
-
Whisk the sugar, flour, eggs and salt until just combined in a large jug or bowl and then switch to a spatula to incorporate the milk, vanilla and butter. You aren’t trying to whisk in air, just get the ingredients amalgamated. Sieve back into the pan then back into the jug or bowl. You want this batter silky smooth.
-
Stir in the rum and then cover. Once cool, pop in the fridge for at least two days (I wouldn’t leave it longer than 3 days before baking, plus I’d be getting impatient enough on day 2!).
-
Prepare your pan/tins. If using a nonstick pan like mine, spray with oil or brush with butter lightly. If using traditional copper moulds, they must be seasoned first and authentic recipes will tell you to use beeswax to do this but quite frankly, a set of 18 copper canelés moulds would put me in debtors jail, so I haven’t tried these, sadly! Silicone moulds should be brushed with oil or butter too and are best used on a preheated baking tray.
-
Preheat oven to 250°C.
-
Take the rested batter out of the fridge, remove the vanilla bean and stir to bring it back together – it will have settled and you need to redistribute the flour.
-
Pour into your prepared tins/moulds, filling to about 7-8 mm short of the top of the mould to give room for the rise and fall as they bake, soufflé style. Bake for 15 minutes at this high temperature. Turn the oven down to 200°C and bake for another 35-45 minutes (it will depend on which type of tin or mould you are using – the size and material will cause cooking times to vary and it would be best to peek at 25-30 minutes. You want them deeply caramelised around the edges, not burnt.)
-
Allow to sit for a few minutes before turning out onto a rack and then be warned – the middles will be über hot so they do need to stand for 10 minutes or risk burning your tongue. Which never happened to me… Honest… ;)
Recipe Notes
Adapted from my friend Hannah de Bevy