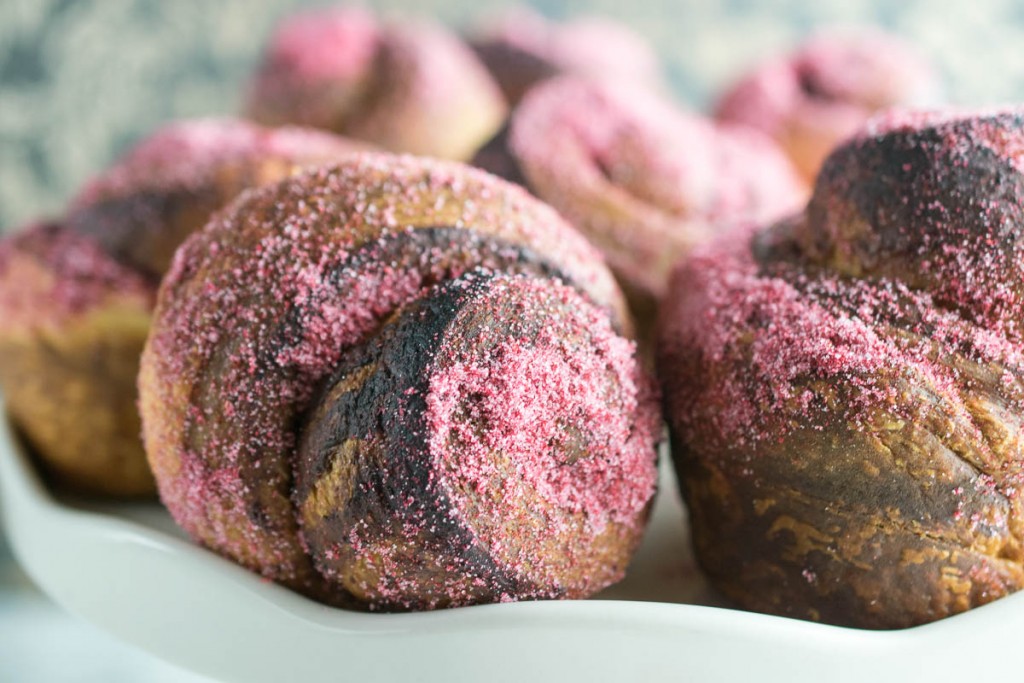
Morning Buns
A very simple bake flavoured by freeze dried raspberries and a little good vanilla extract. A cross between a croissant and a cinnamon swirl style pastry, these are a perfect luxurious brunch for lazy weekends. Or to keep the hungry hoards fed until a mid-afternoon Christmas Dinner!
: 3737 kcal
Ingredients
- 375 g strong white bread flour
- 5 g sea salt
- 50 g caster sugar
- 7 g dried active yeast
- 1 large egg
- 150-175 ml milk whole or semi-skimmed
- 1 tsp vanilla extract
- 250 g soft butter
For filling and dipping the buns
- 50 g caster sugar
- 2 tbsp freeze dried raspberry powder
Optional to finish
- A little melted butter 2 tbsp
Essential kit
- 12 hole muffin pan
- A pastry brush
- Clean tea towels and/or oven gloves
Instructions
-
Mix the flour, salt, sugar and yeast together in the bowl of a stand mixer. Whisk the egg into the milk and vanilla then pour in slowly, mixing with the dough hook on slow until the dough starts to come together - you may not need all of the liquid, stop adding before it gets too wet and sticky.
-
Allow to mix on medium speed for 5-10 minutes until the dough is soft and smooth and elastic. Oil the bowl lightly and cover, allowing to prove until at least doubled in size. This may take 2 hours in winter time.
-
Meanwhile, take your pack of butter and use a large flat palette knife or spatula to squash and flatten it until it is the same size as the foil in which the butter comes - this is the perfect size for laminating into a dough! Cover with clingfilm and smooth with your hand to an even thickness and chill until needed.
-
When the dough has proven, tip onto a lightly flour worktop and roll out to a long rectangle about 1cm thick - you want it twice the length of your butter packet. Use the photos in the post to guide you.
-
Place the butter on top of the dough and fold the top and bottom down to cover it, pinching the sides firmly together - you must cover all of the butter. Roll the dough out into a long rectangle again and then fold the top down a third, the bottom up a third to cover it and chill for one hour, wrapped in cling film. This is an envelope turn.
-
Take the dough out of the fridge and roll out again to a long rectangle - this time you are going to do a book fold. With the short edge facing you, fold the top of the pastry down to the middle and repeat with the bottom. Then fold the top *over* the bottom so you have layers when you look side on at it. Roll out to a long thin rectangle and repeat this book fold. Wrap in cling and chill for one hour.
-
Repeat this process one final time and then wrap in a large piece of cling and allow to dough to relax and chill overnight.
-
The next morning, take the dough out of the fridge and roll out to a rectangle this time 12 inches wide and about 8-10 inches deep. Neaten up the edges with a very sharp knife or pizza wheel - cut straight down, do not drag through the dough so not to ruin your layers.
-
Next, with the 12 inch side facing you, cut the dough into 12 one inch wide strips - it will look very thin but believe me, they grow *substantially* on the final rise and on baking!
-
Mix the freeze dried raspberry and caster sugar together in a small bowl and sprinkle a thick and even layer across the dough - you should have half left when you are done.
-
Carefully, roll up each long strip and finish by tucking the end underneath one of the cut surfaces and sitting this end in a muffin pan. Use a pastry brush to flick off any exposed raspberry sugar as it will burn when baked if you don't do this. Repeat the process with the remaining 11 strips.
-
Cover with a clean tea towel and allow to prove - this can take up to 2 hours again as the dough has been in the fridge overnight.
-
When well risen and puffy, preheat the oven to 180˚C and place a shelf in the centre so the buns aren't too high up.
-
Bake for 30-32 minutes until very well risen and browned, they should be dry to the touch also.
-
Remove from the oven and allow to sit for barely 2-3 minutes before carefully, and using clean oven gloves, gently invert each bun into the bowl of raspberry sugar and roll lightly to cover. Place on a rack to finish cooling.
-
If you have waited too long and they are no longer still hot, the sugar wont stick so instead brush the tops of the buns lightly with a little melted butter before dipping them. Extra decadent but very delicious!
-
Best eaten within 24 hours and serve warmed through with a pot of raspberry jam on the side.
Recipe Notes
Do refer to the blog post photos to help guide you.