

I’ve discovered a number of new blogs this January which are so good, the really make me want to read them. Beautiful design and photography, well written prose and of course – some wonderful looking recipes! When Hungry Hubby’s oldest buddy announced he was getting married and that the happy couple would like me to make their wedding cake, it seemed serendipitous to say the least.
The Happy Couple came to visit this weekend and the bride to be has requested a very simple cake – vanilla sponge filled with blackberry jam, hopefully with brambles from her own garden so the instant I read Shari’s recent post about her blackberry and ginger chai spiced jam I just knew the stars were aligning and I just had to try out her jam.
My cake of choice for special occasions is my own vanilla yogurt cake and that’s where the next fortuitous blog find came in – The Paddington Foodie’s homemade yogurt post. Star crossed (food) lovers or what?!
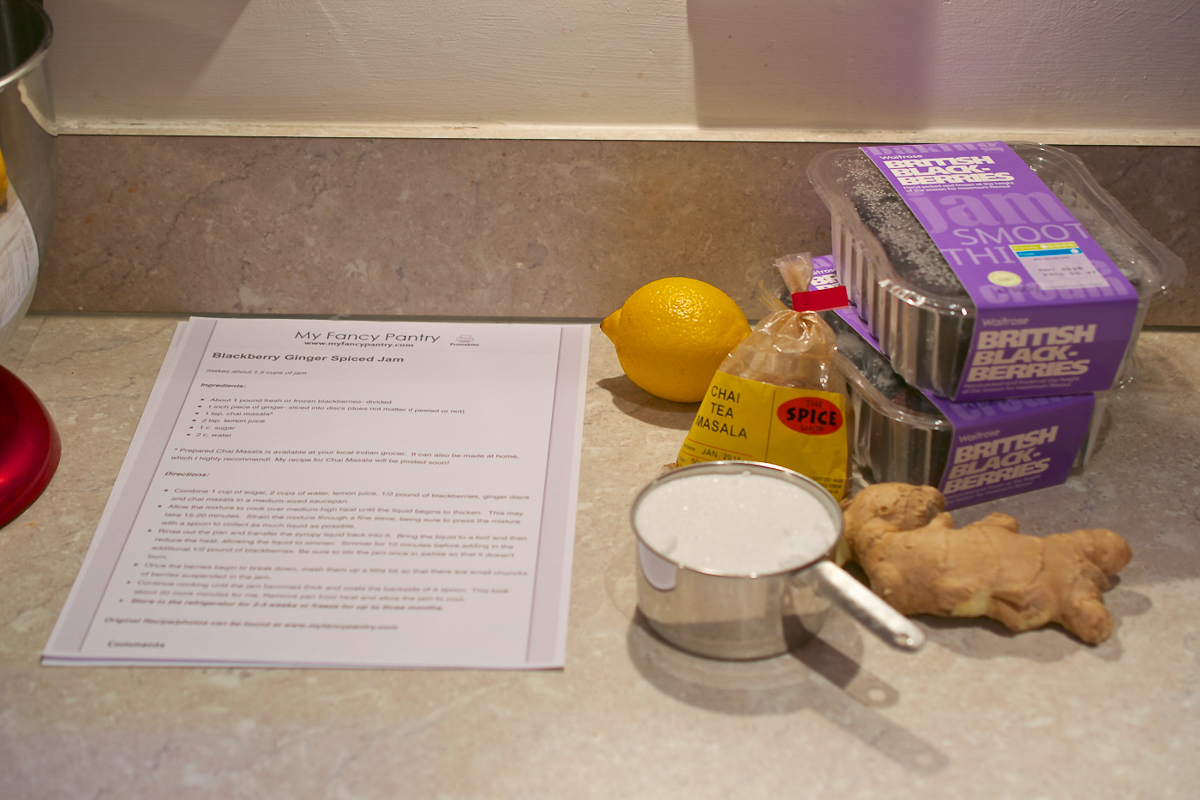
I will admit I was a little nervous making this jam. Having made only one batch of jam successfully in my life (two with ended up like road tar followed after my initial beginners luck) I was anxious. However I shouldn’t have been. I had Shari’s instructions printed off and her blog post loaded up on my phone so I could match what was happening in my pan to her glorious photos and it worked beautifully! Just look at the colour of those royal berries…
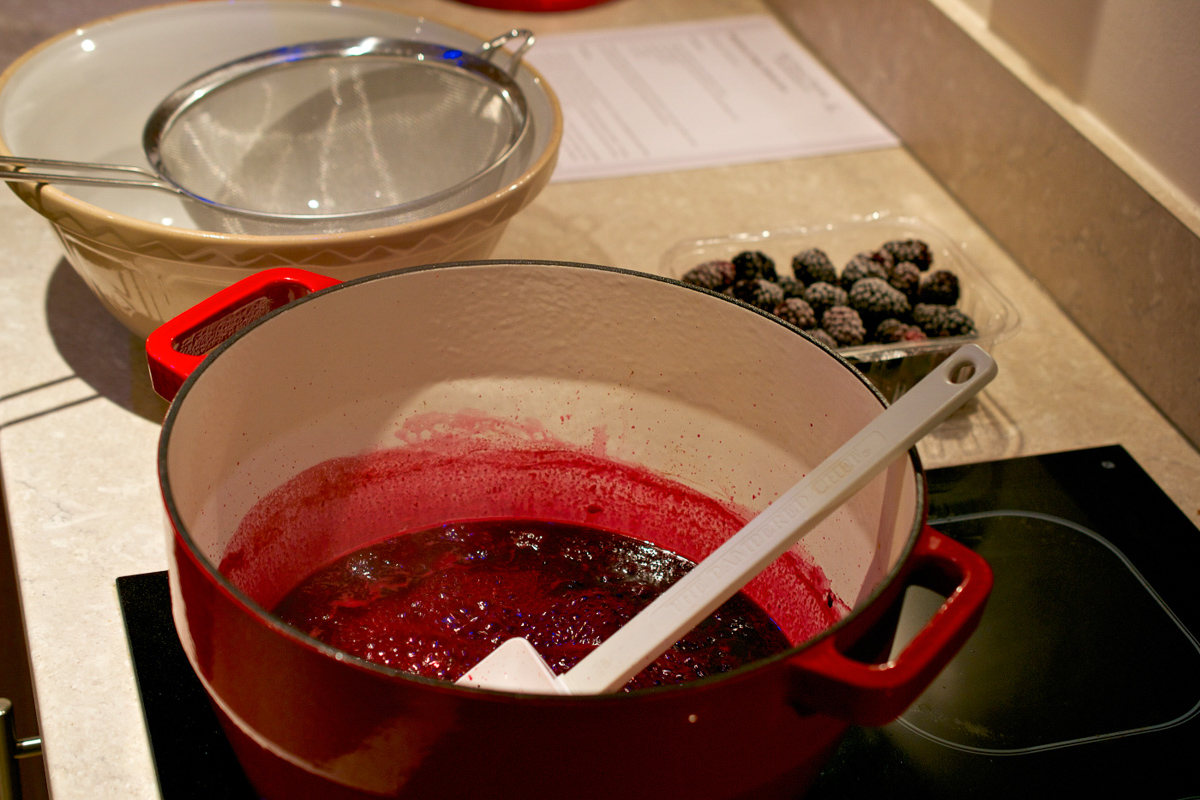
I was worried it was too watery, that there was too little sugar, that it couldn’t possibly set but all of my fears were averted. The smell of my chai masala and the spicy, warm hum of fresh ginger along with the cooking berries blipping along merrily in my biggest pot was so intense. Oh my, it was so deep in flavour just from the smell I just new the taste would be magnificent!
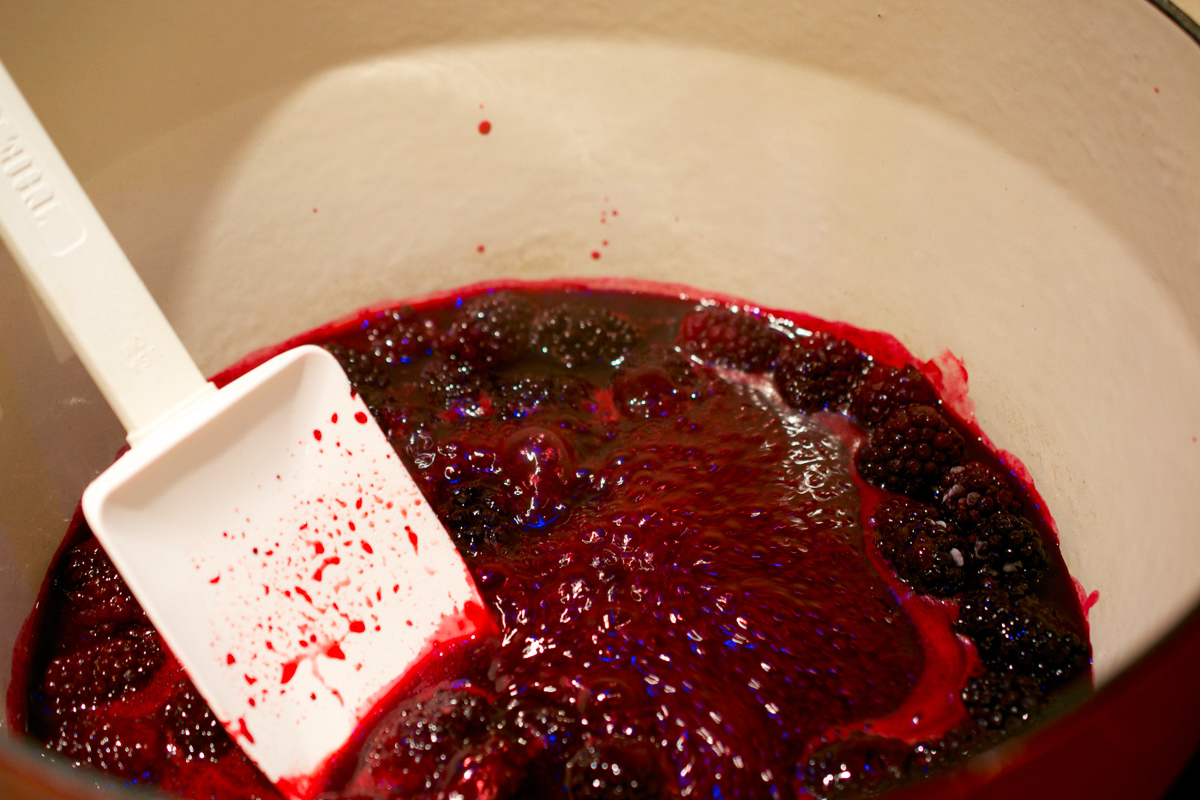
Just look at that colour one more time – is that not just the most regal tone of deep crimson purplish red you’ve ever seen? I loved that you sieve the jam once slightly thickened then return it to the pan with the remaining half of the fruit and just cook until they start to break down. Berry jam can be too seedy for me sometimes but this was a delight to eat, no stray seeds lodged in my teeth!
Having dolloped the jam into a freshly sterilised jar it was time to make my yogurt. Which is easy as pie – you heat milk, mix with a small amount of yogurt then leave overnight to thicken, set and get all tangy. See the link above for the recipe on The Paddington Foodie’s blog.

Another dollop into another sterile jar and my Friday night’s cooking was done and dusted. Neither of which activity was particularly taxing and were both very satisfying as I am totally that sort of foodie who if she can make a store bought, commercially product at home herself – she will! And I encourage you all to do the same with these two delicious recipes from equally delicious blogs.

Now comes the final step in this trial wedding cake tale. Making the actual cake. This is a recipe I created several years ago when a friend of Hubby’s asked me to make a number 2 shaped vanilla cake for her daughter’s birthday. I wanted to use my own recipe and I made a rather giant version of what follows hereafter. Since then, I have baked it countless times, in round tins, square tins, cupcake pans, bundts, tray bake pans… You name it. I have, however, been holding back on sharing it until now as being a plain cake, I wanted to be absolutely sure it was as perfect as I could make it before I shared it with you.
And I’ve discovered beyond using the best ingredients you can find, it’s not what you use but how you make it that makes the most magnificent of sponges, befitting of such a special day as one’s wedding day. My confidence increased when I nervously gave the recipe to a baker friend from Wales who used my recipe as one tier of her friend’s wedding cake having trialled it on her hungry boys. The reviews were excellent from both parties so here it goes! Here comes my vanilla yogurt cake. Gulp!
As this cake was to serve as a taste test, I simply made a two-tiered 20cm cake using sandwich tins – the original recipe called for more than twice the amount of batter to make that giant number cake! A long while ago I embarked on a mission to discover the secret to making the lightest, most tender crumbed, tallest sponge cake and I really did my research. There are some rules to follow to guarantee that kind of wonderful result:
- All ingredients must be at room temperature before you start
- Line and grease the tins well
- Cream the butter and sugar for 10 full minutes in you food mixer or with electric hand beaters – scrape down whenever it starts climbing up the bowl
- Sift your flours and raising agents together at least twice – it’s a bit messy but you need to ensure they are well mixed and no lumps are allowed!
- Add an egg and a spoonful of the sifted flours and whip it in until pale, light and fluffy – this stops it curdling
- Stop when all ingredients are combined and do not over mix
- Be gentle lowering the bowl to just over the prepared tins so you don’t knock all the masses of air you have creamed, sifted and whipped into the batter!
- Cook low and slow on the middle shelf of the oven – they are done when two things happen: (1) The cakes spring back when gently pressed (2) The cakes start to pull away from the sides of the tin (these are better guidelines that a strict adherence to the cooking times stated in any recipe

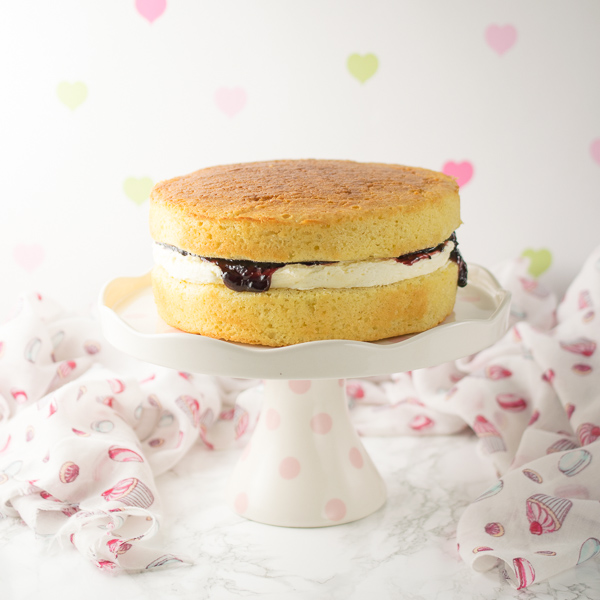
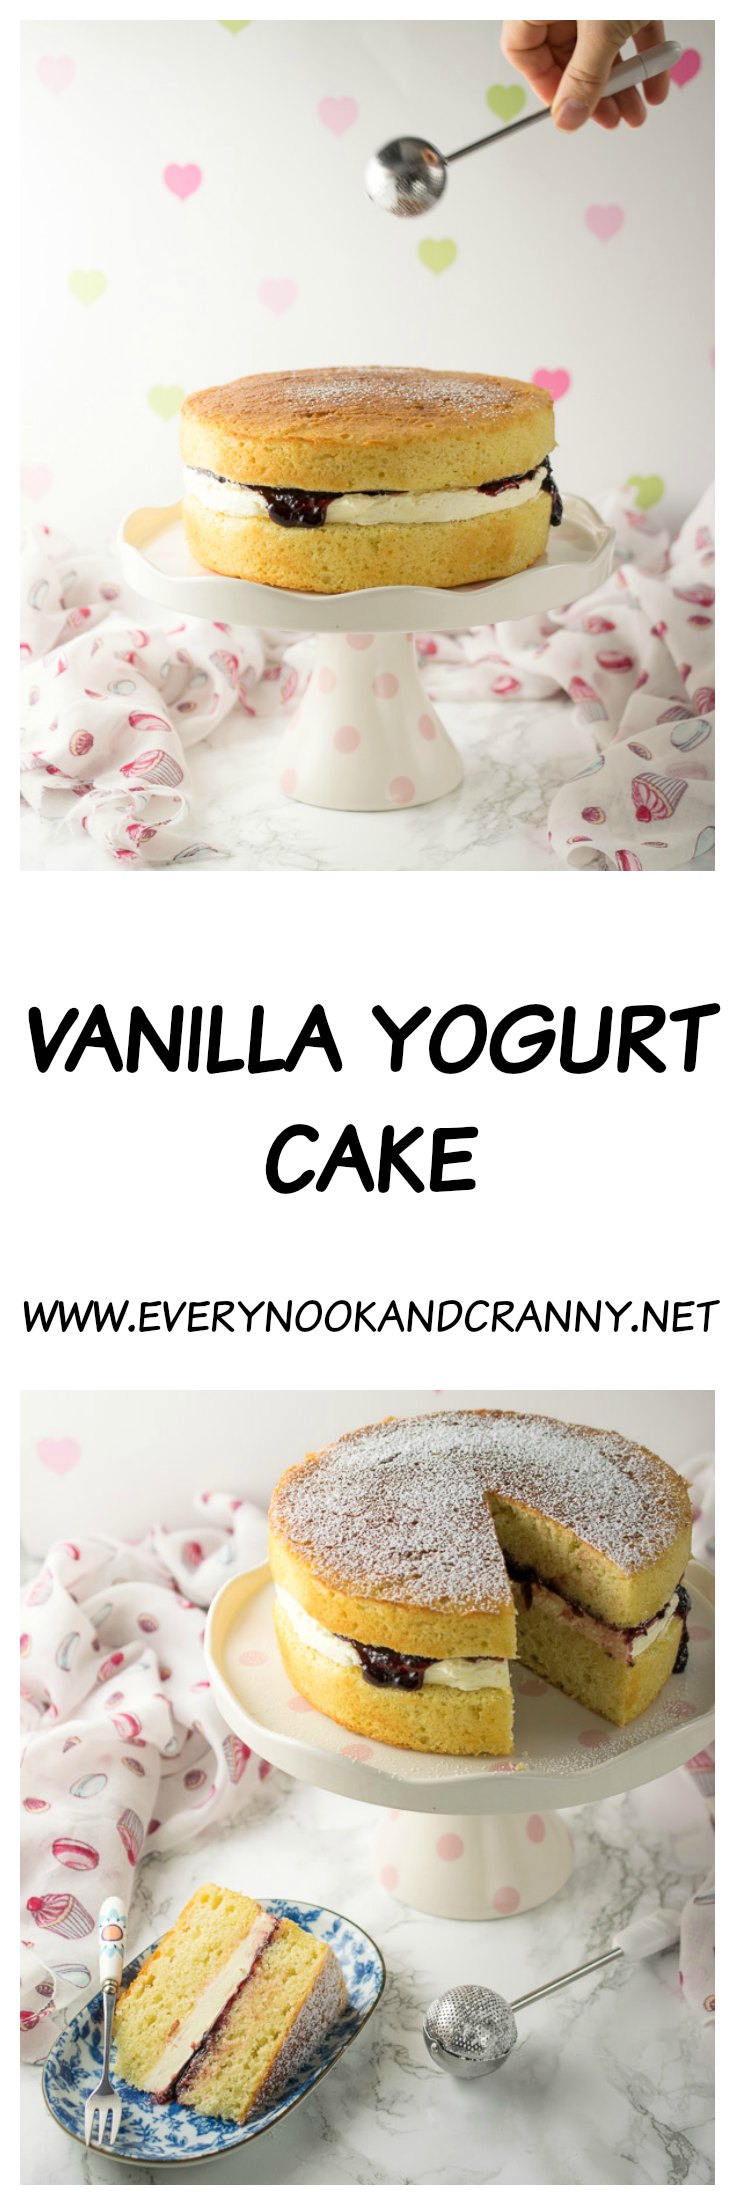
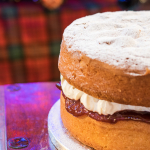
A dust of icing sugar and you’re done. The final design for Hungry Hubby’s and his missus to be won’t be revealed until after their special day in July so until then, I will leave you with this slice of lusciousness and my tried and tested recipe! They really enjoyed it and took slabs home wrapped in foil on their train back home.
I hope you like it and please tell me if you try it. I would love you to share your photos of it on Facebook or Twitter (I’ve already had quite a few foodie friends make our Apple Chapel Cake and I can not tell you how much I love to see my recipes being used and enjoyed across the globe :D)


Somehow both super moist and light and tender, this vanilla cake owes it's wonderful texture to the inclusion of Greek yogurt.
- 150 g softened butter
- 200 g caster sugar
- 125 g plain flour
- 125 g self-raising flour
- 1/2 tsp baking powder
- 1/4 tsp baking soda
- 3 large eggs
- 2 tsp vanilla extract or 1 tsp plus the seeds of a vanilla bean – my preferred option
- 200 ml Greek yogurt
-
Preheat oven to 160°C and grease and line two 20cm loose bottomed sandwich tins.
-
Cream butter and sugar until light and fluffy – at least 8 if not 10 minutes in my KitchenAid (it needs to be almost white and all the sugar dissolved when rubbed between your fingers).
-
Sift the flours and raising agents at least twice then take a spoonful and add to the creamed butter with one of the eggs. Repeat with all of the eggs.
-
Sift over the remaining flour and mix in until barely incorporated.
-
Add in the yogurt and vanilla and mix until the flour has turned to batter then stop.
-
Gently and lightly tip into your prepared tins and flatten the surface making a dip in the centre (this helps them rise with a not-too-domed top).
-
Bake for 30-35 minutes in the centre of the oven until they an even pale golden, pulling away from the sides of the tins and the centre of the cakes spring back when lightly pressed.
-
Cool on a rack 5-10 minutes then remove from tins, peel off paper and cool on the racks until fully cold before sandwiching with your choice of filling. I used about 1/2 cup (100-125g of Shari’s blackberry and ginger chai spiced jam) and a simple buttercream of 100g butter mixed with 200g icing sugar and a tsp of vanilla which I whiz in the food processor this time (it is less messy to whiz icing sugar in the covered bowl of the food processor than in my stand mixer!).
This post contains affiliate links, meaning I will earn a little commission if you chose to buy items I’ve advertised, helping me to bring you all these recipes for free!
Like this post? Then why not try these related recipes:
-

- Dairy Free Naked Wedding Cake
-

- Gluten Free Victoria Sponge
-
- Victoria Sponge
That looks totally gorgeous – yes please:-)
Jo, that cakes looks so good. Something to make, soon!
Yay! Can’t wait to see yours Joost ooo!
Jo this looks superb. When you baked it as a Brundt, how long did it take to bake?
Thank you Luchair. 50-60 mins I find. You’d need to up the quantities – I would double it and make a few cupcakes if there was much batter over but from memory I think a double batch filled my Nordicware bundts without excess 🙂
I am so making this at the weekend. It looks fab.
Ooo yippee! Take a piccie for me Jen 😀
Wow Jo! That cake looks sublime and I still can’t believe you made and used my yoghurt. I remember Shari’s blackberry jam recipe. I have it bookmarked to try as soon as she posts her chai masala recipe. Now all I want to do is make your sponge cake. Have never quite managed to achieve an incredibly light and airy result so maybe this will be ‘the one”. Many congratulations to The Happy Couple. I’m sure their wedding cake will be a huge success. Made from scratch with love and using their very own blackberries.
I did indeed – it was fun to make. I’ve only ever used Easiyo before to make yogurt but I’d ran out a while back so it really as fortuitous to find your recipe and have a small amount of store bought Greek yogurt left. I hope you do try the cake too (p.s. did my friend Coby tell you/show you her TimTam cake? Now *that* recipe I can’t wait to make of yours!).
Definitely will try it. Would love to see your friend Coby’s Tim Tam cake.
This looks heavenly 😀 Well done!
Thank you! Can’t wait to share the last slice with Hungry Hubby tonight 😉
That cake looks spectacular, Jo! Wonderful!
It’s not good enough for sodding Foodgawker apparently Frugs! 😛
They can be very picky… I’ve been finding it really hard to keep on top of submissions recently – have a massive backlog.
That looks amazing. Bookmarked to try!
Yay – do let me know how it goes 😀
Jo, what a labour of love! It’s awesome that you made every single element yourself (I’m especially impressed with the yogurt. I’m always too afraid to make my own dairy products!). The cake looks absolutely delicious – I wish I could reach into my screen and grab that slice for myself. your friends are lucky to have you as their pastry chef!
Aw thank you! I do love making anything I can from scratch. I like seeing the process work in my kitchen. Something tells me I’ll be making lots of this cake over the next 6 months before the wedding to “practice” various elements (aka excuse to eat cake lol…!) 😀
Printed off, it looks sooooo good! x
Yay! I can’t wait to see it Kelly 😀
This really is a labour of love, Jo! Gorgeous. ❤️
Ah it’s fun – I really didn’t bat an eyelid at all the steps Anna. The creative bit of cooking is my most favourite part and if it’s possible to make something from scratch, you betcha I will try it! 😀
Good for you!
I always find dishes with many steps rather intimidating. Or maybe I’m just a lazy cook! Ha ha
Just made your lovely Yoghurt and Vanilla cake, thank you so much Jo! I make my own yoghurt too and have made a few cakes using it but the balance wasn’t right. They seemed a little too stodgy. Yours was light, just the right amount of moistness and absolutely delicious! Thank you for the extra tips!xom
Brilliant – I’m really pleased it worked for you 😀 so glad you enjoyed it x
Lovely, Jo!!! I’m so excited to give your cake a whirl, it sounds (and looks!) spectacular! Oh, and don’t worry about foodgawker/tastespotting, sometimes I think their criteria is goofy! Actually, most of the time it’s goofy! I seldom submit my stuff to them anymore.
Can’t wait to see what you think of the cake Shari – The Paddington Foodie made a passion fruit version which looks fabulous too :D. Ah, FoodGawker is crazy indeed. I haven’t tried in nearly 18 months – I won’t be rushing again!
Jo, I never use selfraising flour, do you think 1tsp of baking powder would be ok? Or should I use more?
Thanks
Hi Ann – I would use 2 tsp of baking powder and 1/2 tsp (level) of bicarbonate in total and in the absence of self-raising flour for this quantity x
super, thanks!
No problem!
Thanks for such a lovely recipe. I made it and used strawberry jam in the centre with the buttercream. Would you have any suggestions of a filling recipe for the inside not too sweet please.
Would this work if i want t make 3 layers? I want to make it for my sons birthday and i dont think 2 layers would be large enough. What measurements for 3 layers?
Thanks kindly.
also 20cm cake tin what is that in inches? thanks
Hi Lisa! I’m so glad you tried the cake and enjoyed it – it’s one of our favourites here for sure.
As for your questions – 20cm is an 8inch tin.
For a less sweet filling, whipped cream is the simplest suggestion – you can add a spoonful of icing sugar if you want a hint of sweetness or ripple some lemon curd through it perhaps? Other than that, my favourite frosting is cream cheese frosting like on carrot cakes. Beat together 200g cold cream cheese (full fat) with 100g very soft butter and 125g icing sugar until just combined then stop. You can add vanilla, lemon juice, lime juice etc to flavour it as you like.
As for making a third tier – simple! Just make half the recipe and cook one layer with it. If you want specifics, check this post out as I have tables for how to adapt the cake to various cake tin sizes which I think you’ll find helpful. http://www.everynookandcranny.net/making-naked-wedding-cake/
Thanks for stopping by! xx
Thanks Jo. Do you think 1.5 times the amount would work as I only have 20cm tins? I am just not sure about the eggs. Or should i just double it and make 4 layers? sorry i am not an expert at this lol.
I do have a 12 inch tin but last time i made a cake in it it came really dry. Not sure if my cooking temp was too high.
Hi Lisa – all you need to do is make up the cake as stated in your two tins. Then when they are cool, make half a batch of the batter and bake it in one the tins. You could use two small eggs instead of 1.5 large ones if that’s easier for you. Odd numbers look best with cake layers but you could make a super tall cake by doubling the recipe to make 4 layers if you prefer! Good luck with the baking 😀
Thanks for the feedback, Sorry one last question have you tried freezing this recipe before decorating and then defrosting. Was it still very moist?
Would it be best to defrost at room temp or in the fridge. Last time i made this i stored it in fridge when it was decorated with the buttercream.
Thank you so much!! I am just learning haha!
Hi Lisa – lovely to hear from you again. Yes, I have frozen these cakes before – I wrap each layer in two layers of cling film before freezing and defrost on the counter top. They come out nice and moist but as with all frozen and thawed food, you want to use it within 48 hours. Enjoy your baking!
Thanks so much Jo! I am looking forward to making my sons birthday cake!
All the best for Christmas!
and thank you once again.
I made the cake and froze and defrosted on counter top. I just did a trial run. I used whipped cream but will probably use butter cream on the day.
I found the cream had trouble sticking on the cake. I didnt use any jam or anything. Do you think buttercream would work better? Or should i use jam underneath? Thank you
sorry for a lot of questions.
I also found the cake seemed to have moisture on top even though i wrapped it really well.
Hi Lisa – sorry it took a while to get back to you.
Basically, you can’t do much about cakes coming out a little more moist when they have been frozen and thawed – dabbing gently with kitchen roll would help if there is a lot of condensation on them. Also, unwrap as soon as they are thawed so they don’t “sweat” under the clingfilm.
As they are more moist, they is probably why the cream moved a little bit.
You can still use that or buttercream – it really is a personal preference sort of thing. You would probably be best to put the jam on top of the cream or buttercream though, it will be more stable that way.
I hope that helps!
Thank you so much
Thank you so much for this recipe! I doubled the quantities to make a 2 layer 10 inch round cake, sandwiched with strawberry jam and buttercream. The cake was delicious and everyone commented on how tasty and moist it was. I really enjoyed following the recipe too as it was so precise and clear, really thoroughly explained so no room for error! The extra effort of creaming the butter and sugar that little bit more, making sure everything was room temperature and sifting the flour twice really did make a difference. I did it all by hand too as we don’t have a stand mixer (I dream about a kitchen aid!).
Thank you so much for your comment and the photo you shared with me on FB Gemma, the finished cake looked really beautiful. And bravo on doing it by hand – you must be be the Muscles from Brussels of the baking world lol. I hope your KA dream will come true really soon x
This is THE recipe I use when I need a plain vanilla cake.
But, also when I need another flavor, it’s so easy to adapt to your own taste. I changed the recipe by adding some lemon juice and zest into a lemon cake, I made a speculaas cake by adding a 2 tsp of speculaas spices…
Everybody loves this cake. It is also an easy cake to freeze, I love it when they get even a bit more moist (as I hate a dry cake). Jodie, you are a star in inventing new cakes, you are often my go to as it comes to recipes. PS: as buttercream I use Jodies Italian Meringue buttercream to decorate…
Never a regular pound cake for me anymore, this is it!
Thank you so much Ann :’) for your lovely, heartfelt comment. It means an awful lot x
I had some Greek yoghurt that needed using up so I looked on internet for a recipe. Came across your recipe and thought that’s the one. I made it and waited to see feedback when family got home. Filled it with buttercream and homemade mixed berry jam. My hubby said this is one of the nicest cakes you have made. So light and moist. Daughter and grandson loved it too. So that’s a hit and has now gone in my recipe book for future baking days. I’ll now check out your other recipes. Nice one x