
When me and Hungry Hubby got an invite to my sis-in-law’s to celebrate her birthday, it took a nanosecond for me to decide on the perfect present – a Big Fat Birthday Cake! My lovely SIL is a very non-materialistic gal and a classy one at that. Every time my parents have a birthday or Christmas comes around, her and my Step Bro come up with the most wonderfully unique gifts which usually comprise some sort of voucher they’ve created on their computer for a very special day out.

It’s all about the experience, the spending quality time together and never about extravagant and outwardly expensive gifts. So I figured creating a cake just for her would be something she’d love, could share with us all and wouldn’t make her wail “oh but you mustn’t be so extravagant!” And as luck would have it, I got it right 😉

I canvassed opinion first on my Facebook page as to what my readers would consider their perfect birthday cake, to get the old creative juices flowing. Chocolate was featured heavily. Good and classic, but not quite befitting of the season nor the lass herself so I turned to my longterm foodie friends and between Liz’s suggestion of a Black Forest gateau and Sara’s idea of something peach melba started me thinking about summery layered mousse cakes, or gateaux, as the more shall we say retro amongst us would call them.
And seeing as The Great British Bake Off is back and very much on my mind at the moment, it seemed the right time to give myself a challenge and try a selection of techniques outside my usual baking arsenal.
It was great fun. Me and Hungry Hubby had gone out for breakfast to my beloved Fancie (local bakery, cocktail bar and restaurant all-in-one and freshly reopened under new management) on Saturday morning followed by a trip to the shops for the fresh fruit and double cream I planned to use, then we hightailed it back to the Apple Chapel so I could spend the day creating in the kitchen.
Cue fatless sponge making, peach poaching and mousse making. In years gone by, I’ve tried making Hungry Hubby his favourite Black Forest Gateau but in all honesty, they have all been cakes rather than true gateaux. Now I’ve branched out baking-wise and discovered that timeconsuming they may be, they’re really rather easy I’ll be making him a proper BFG post haste!
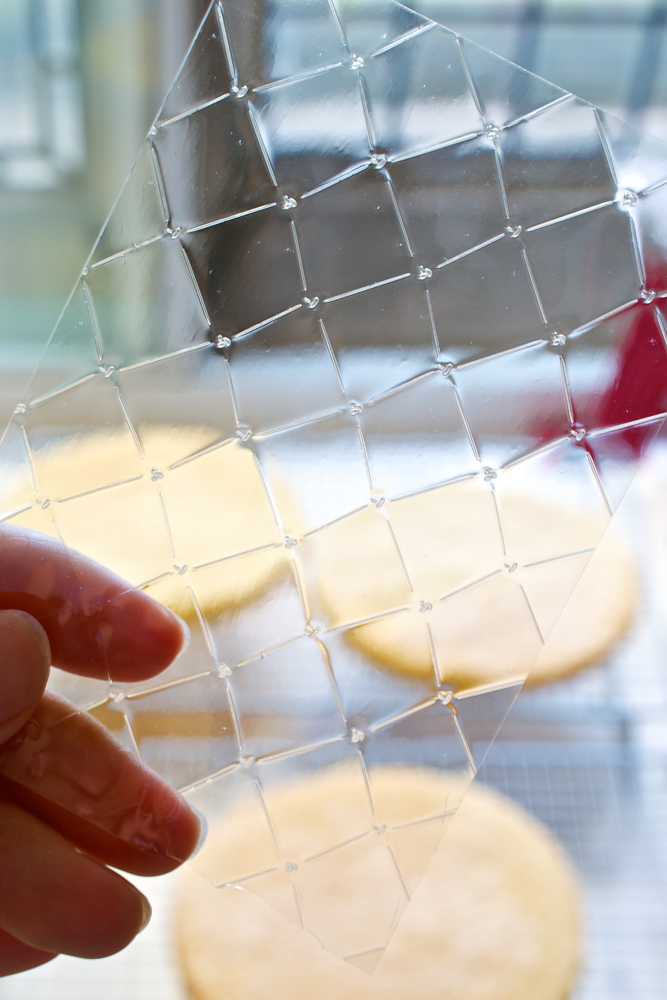
I toyed with the mousse layer recipe longest and in the end, I decided not to risk the potentially very wasteful disaster of unmoulding the cake to find the filling unset and added gelatine to my fresh egg-based mousse. I think if I were serving it in cups rather than as the structural integrity of a rather tall birthday cake then I might leave it out. Plus leave gelatine is so beautiful – I love how it mirrors the stained glass windows we have in our converted chapel home.


My thoughts on the creating of this new cake were around construction as much as confection. I needed a fatless sponge as the filling would be creamy, rich and indulgent but I didn’t want it to dry out. So I added some ground almonds. Which also added to the structural integrity.
I wanted to make it three cake layers high for mostly aesthetic reasons – odd numbers look best in food production and on a 20cm base, any more would be too tall to slice and serve without it all falling apart. You can see how well it sliced in the photos above. (Yes, I am always a bit too generous with my servings!)
Then I thought long and hard about the mousse itself. I considered plain whipped cream (too naughty), creme patisserie (too rich, risk of being too softly set), creme legere which is creme pat with whipped cream in (this one almost won) but I decided upon a traditional mousse for the lightness and fluffy texture.
It took a while to decide upon how to incorporate the peaches too – I thought about going all ’70s and layering the cake up with fanned out slices but in the end, I figured most folk in my family would prefer a silky smooth texture, hence the puree.
When me and Hungry Hubby were still teenagers (well, he was 21) we used to buy Onken Peach Mousse desserts and share a pot between the two of us. It was really peachy and oh so fluffy with a tiny layer of whipped cream in the bottom of the pot which we would fight over. So the taste memory carried me forward to puree my peach. The addition of Archers liqueur is also a nod and a wink to my youth as I would frequently order an Archer’s and lemonade on our dates.
You really don’t have to add it though as long as you buy fragrant fruits and poach them until very soft, you’ll still get a peachy pop in the mouth. It would be wonderful to eat as a simple dessert in itself if you don’t want to make the whole cake. As in a classic Peach Melba dessert, the fresh raspberries give a refreshing fruity pop within the creamy, peachiness of the filling. Simply top with unsweetened but vanilla seed heavy whipped cream and more fresh berries and you’re done.

Happy Birthday Shaz, I’m so pleased you loved the cake and even more pleased that it was all eaten before I had to give storage instructions!
(I would store in the fridge for upto 48 hours maximum as it has raw eggs in the mousse.)

- 4 large eggs
- 120 g plain flour
- 120 g caster sugar
- 2 tbsp warm water
- 60 g ground almonds
- 2 ripe peaches
- 1 vanilla bean
- ½ cup caster sugar
- 1 cup water
- 2 tbsp of Archer’s peach liqueur and optional
- 3 large eggs separated
- 4 small or 2 large leaves of gelatine
- 250 ml double cream
- 80 g caster sugar
- 300 g fresh raspberries
- 180 ml double cream
- Seeds from the vanilla bean reserved above
- Icing sugar
-
Poach the peaches – heat the ½ cup caster sugar and cup of water in a pan wide enough to accommodate the halved peaches then plop in the vanilla bean and halved peaches. (Cut in half around their equator, leaving their skins and if they are firmly adherent, their stones – both slip out easily after poaching plus the skins give the syrup a blushing pink hue you won’t want to miss out on.)
-
Cover if the syrup reduces too quickly or the peaches need longer to cook through – simmer for 10-15 minutes, testing with the point of a knife to ensure they are plenty tender enough. Remove to cool on a plate and reserve the syrup for another day – it is fabulous over vanilla ice cream.
-
Next make the sponges. Preheat the oven to 170°C and butter then flour three 20cm round, loose bottomed cake tins – line their bases with silicone or baking paper. I used two sandwich tins and one deep one as that’s all I have so don’t worry about the height of your tins.
-
Whisk the eggs and sugar until extremely light and fluffy – this could take 10 minutes on full speed in a stand mixer and you should expect at the very least three times the volume. Whisk in the water then sift over the flour and ground almonds. Fold in with a spatula or large metal spoon. Note you will probably have some almonds left in the sieve; just tip them in and fold away, gently!
-
Divide between the three prepared tins and bake for 10-12 minutes until they spring back and are golden in colour. Cool completely in the tin before running a knife around the edges of the tin and removing to stand on a baking rack.
-
Make the mousse. Dissolve the gelatine sheets in 50ml cold water – when gloopy, zap in the microwave for 10-20 seconds until melted or heat in a small pan on the stove, whisking constantly. Peel away the skin and remove the stones from the peaches and puree in the food processor. Or push through a sieve or food mill. Beat in the dissolved gelatine. Add the peach liqueur if using.
-
Whisk the egg yolks with all but 2 tbsp of the caster sugar until at least trebled in volume. Again, this may take a fair few minutes of high speed whisking.
-
Whisk the egg whites until stiff peaks form then sprinkle on and whisk in the remaining 2 tbsp of caster sugar until the meringue is thick and glossy.
-
Whip the double cream to soft peaks only.
-
Now, in a large bowl, fold the egg yolk mix into the peach puree, followed by the double cream then finally the egg whites, stopping as soon as no more streaks of egg white remain.
-
To assemble clean out a deep 20cm round cake tin and line the sides with baking paper (again, I used strips of reusable silicone). Insert one of your cooled sponges. Spoon or pipe in a layer of peach mousse about 1cm thick. Stud with half the whole raspberries then top with a little more mousse. You will have used about half of the mousse at this point. Top with a second sponge and repeat step 11, topping with the remaining sponge. Cover with cling film and refrigerate over night. It is handy to save a little of the mousse and refrigerate so you can test this little pot for a set – if it has set, your cake will have set too so you can unmould it with confidence!
-
When ready to serve, push out of your cake tin (this is why they must be loose bottomed) and peel away the baking paper from the sides of the cake. Smooth with a spatula if needed – my mousse was very well behaved. I left mine on the base to serve but if you are braver than me (or have a giant cake lifter) then feel free to transfer to a cake stand!
-
To finish, dust the top of the assembled cake with icing sugar generously. Whip the double cream with the seeds from your vanilla bean. Pipe rosettes and stud with more raspberries to decorate as you please. It’s quite nice to do 8-10 rosettes so each slice has a whole raspberry to serve. Pipe any leftover cream onto the plates as you serve.
This post contains affiliate links, meaning I will earn a little commission if you chose to buy items I’ve advertised, helping me to bring you all these recipes for free!
Like this post? Then why not try these related recipes:
-

- Lemon Cheesecake Mousse Cake
-

- Raspberry & Orange Friands
-

- Chocolate Raspberry Brownies
Congratulations on making something which was loved by the birthday girl – it looks gorgeous. And by the way, I’m in full support of your too generous portions =)
Lol I shall remember that if I am ever to serve you cake Laura! 😉
That looks like a hug for the soul – fabulous.
That looks absolutely gorgeous. In my family birthdays are always all about the cake.
A work of art, gorgeous. (But gateau is just French for cake…)
Mais oui, ma amie 😉
Holy Moly, that’s big! Looks fantastic. I’d love a slice now. I’ve run out of food for the working day already!
Lol it aint that big 😉 And anyway – birthdays aren’t the days to be tight over the cake portioning!
Sounds delish!
That is one of the best cakes I have seen, well done Jo
Thank you Sandy! I any wait for another occasion to make it 🙂
Jo, this cake is spectacular! I loved reading about your thought process behind creating it. Good choices all around. And the finished product is a work of art. Both the sponge and the mousse look like perfection. And girl, ain’t no such thing as “too generous” a slice of cake 😉
I like to make the effort to explain the provenance of my recipes Nancy as well as my thought processes when I come up with new recipes. Understanding why you do something is the key to creation in every aspect of life 😀 And thank you for the compliments. And lol at the cake generosity comment – amen sister 😉