
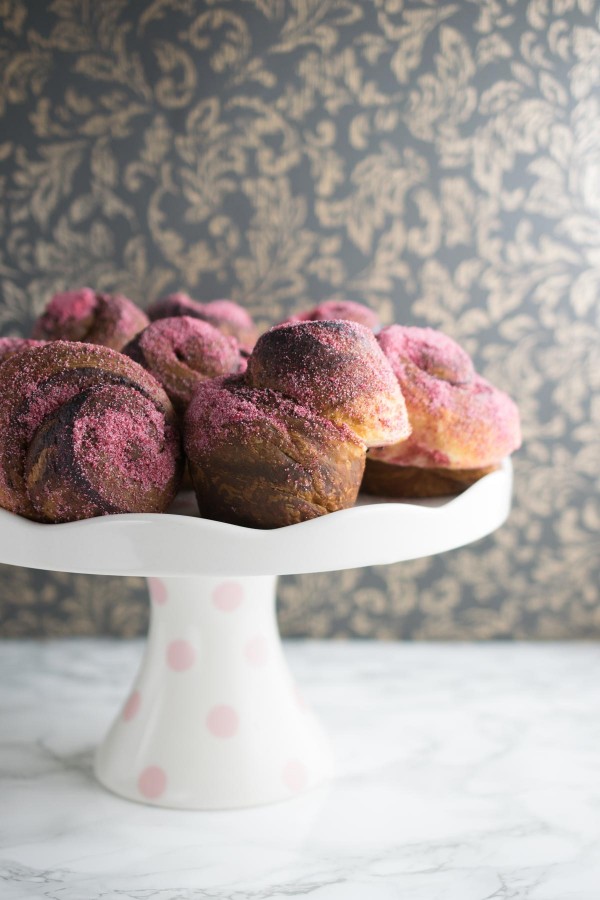
These sweet and sparkly pink buns were inspired by a trip to a local bakery to buy pastries for breakfast when my best friend came to stay recently.
I’d never come across a Morning Bun before but when I saw one lonely baby pink pastry left on their cake stand, and the girl behind the counter told me it’s pinkness was due to a laminated yeasted coil of dough being dipped in raspberry sugar after baking, I knew I had to have it.
The one I bought was lovely but the flavour was too subtle for me and my BFF who adores anything with raspberry in. It took me a few goes to be happy with the method but after a good year of working on my Danish pastry recipe, I am finally ready to share it with you. I give you my version of Morning Buns.
Danish pastry and croissant pastry are both, in essence, a sweet and enriched laminated dough. That means you make a sweet bread dough then roll and fold it around a slab of butter in exactly the same way you make puff pastry. I mentioned that I have been working on my recipe for a while and the reason is I just wasn’t happy with the number of layers and subsequent structure of the final bake. It tasted wonderful but I knew there had to be a way to improve it.
So I added some egg and, et voila, it puffed, and grew, and formed the most wonderfully honeycombed structure I’ve ever seen. Imagine cutting across a croissant to reveal the spiralling interlocking layers of pastry and that is what this recipe delivers you. It takes a bit of time but the work is easy and oh so satisfying to do.
Just do bear in mind that Danish pastry dough grows inexplicably upon its second rise and it has a quite spectacular oven spring so don’t make them any bigger than suggested in the post – or they will unravel and try to escape! Anyone who has ever watched the Great British Bake Off will have seen absolutely monstrous danishes being made in the final stages of the competition as the contestants haven’t made allowances for this in their planning!


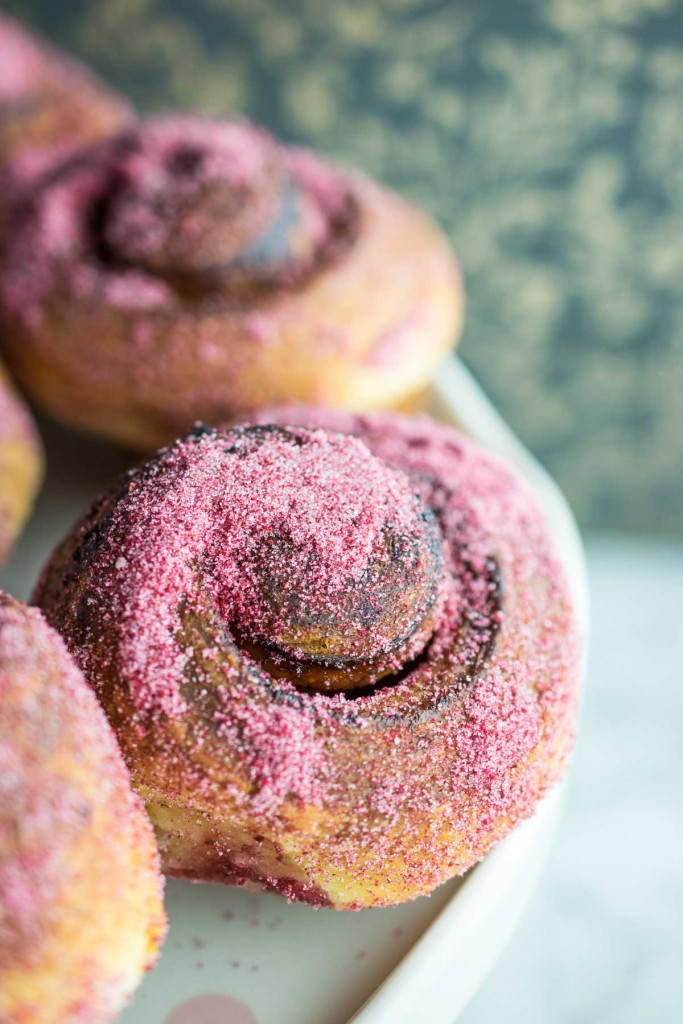
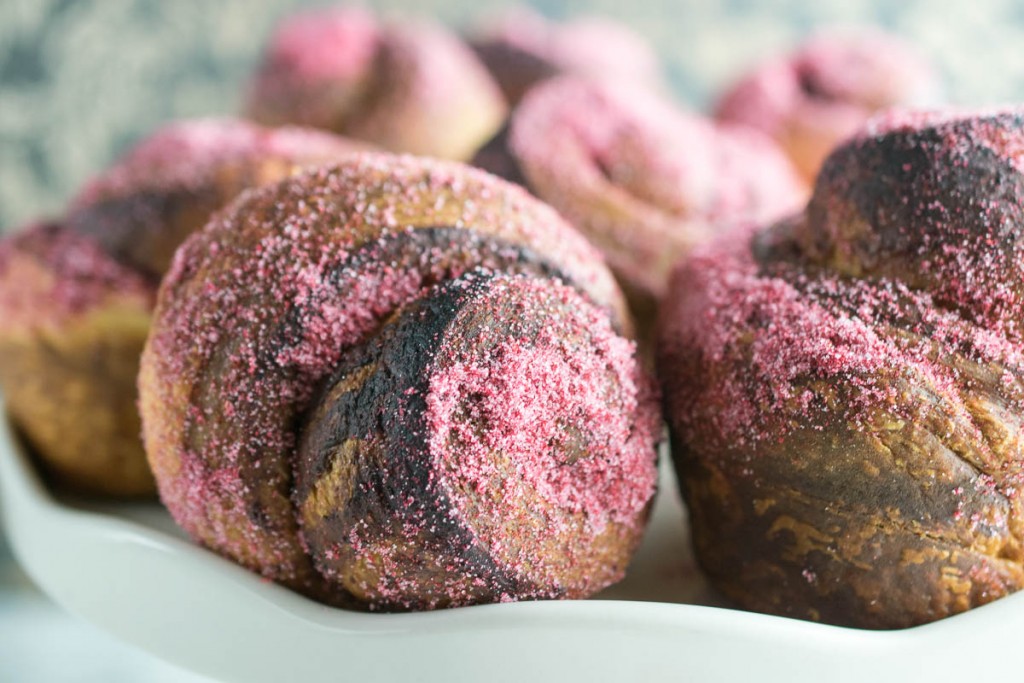
As Morning Buns are a very simple affair, it makes sense to use the best butter and freshest eggs you can get. Unusually, I add some of my homemade vanilla extract to the dough for extra flavour as this really is a simple bake, finished product wise. Also, I add a layer of freeze dried raspberry powder mixed with caster sugar to the dough before rolling up as well as dipping the just-baked buns in the leftover sugar when baked.
You do need to be careful to ensure there isn’t any exposed as it will catch and burn on baking but a quick flick with a pastry brush before they go in sorts this out. I would serve them warm with a pot of homemade raspberry jam or lemon curd on the side to spoon on as you either rip and unravel your buns or if you are more refined, you can slice and spread as you eat! As the dough is made the day before baking, these would be a truly wonderful treat to have mid-morning on Christmas Day (or any lazy weekend you have a house full of overnight guests).
- 375 g strong white bread flour
- 5 g sea salt
- 50 g caster sugar
- 7 g dried active yeast
- 1 large egg
- 150-175 ml milk whole or semi-skimmed
- 1 tsp vanilla extract
- 250 g soft butter
- 50 g caster sugar
- 2 tbsp freeze dried raspberry powder
- A little melted butter 2 tbsp
- 12 hole muffin pan
- A pastry brush
- Clean tea towels and/or oven gloves
-
Mix the flour, salt, sugar and yeast together in the bowl of a stand mixer. Whisk the egg into the milk and vanilla then pour in slowly, mixing with the dough hook on slow until the dough starts to come together - you may not need all of the liquid, stop adding before it gets too wet and sticky.
-
Allow to mix on medium speed for 5-10 minutes until the dough is soft and smooth and elastic. Oil the bowl lightly and cover, allowing to prove until at least doubled in size. This may take 2 hours in winter time.
-
Meanwhile, take your pack of butter and use a large flat palette knife or spatula to squash and flatten it until it is the same size as the foil in which the butter comes - this is the perfect size for laminating into a dough! Cover with clingfilm and smooth with your hand to an even thickness and chill until needed.
-
When the dough has proven, tip onto a lightly flour worktop and roll out to a long rectangle about 1cm thick - you want it twice the length of your butter packet. Use the photos in the post to guide you.
-
Place the butter on top of the dough and fold the top and bottom down to cover it, pinching the sides firmly together - you must cover all of the butter. Roll the dough out into a long rectangle again and then fold the top down a third, the bottom up a third to cover it and chill for one hour, wrapped in cling film. This is an envelope turn.
-
Take the dough out of the fridge and roll out again to a long rectangle - this time you are going to do a book fold. With the short edge facing you, fold the top of the pastry down to the middle and repeat with the bottom. Then fold the top *over* the bottom so you have layers when you look side on at it. Roll out to a long thin rectangle and repeat this book fold. Wrap in cling and chill for one hour.
-
Repeat this process one final time and then wrap in a large piece of cling and allow to dough to relax and chill overnight.
-
The next morning, take the dough out of the fridge and roll out to a rectangle this time 12 inches wide and about 8-10 inches deep. Neaten up the edges with a very sharp knife or pizza wheel - cut straight down, do not drag through the dough so not to ruin your layers.
-
Next, with the 12 inch side facing you, cut the dough into 12 one inch wide strips - it will look very thin but believe me, they grow *substantially* on the final rise and on baking!
-
Mix the freeze dried raspberry and caster sugar together in a small bowl and sprinkle a thick and even layer across the dough - you should have half left when you are done.
-
Carefully, roll up each long strip and finish by tucking the end underneath one of the cut surfaces and sitting this end in a muffin pan. Use a pastry brush to flick off any exposed raspberry sugar as it will burn when baked if you don't do this. Repeat the process with the remaining 11 strips.
-
Cover with a clean tea towel and allow to prove - this can take up to 2 hours again as the dough has been in the fridge overnight.
-
When well risen and puffy, preheat the oven to 180˚C and place a shelf in the centre so the buns aren't too high up.
-
Bake for 30-32 minutes until very well risen and browned, they should be dry to the touch also.
-
Remove from the oven and allow to sit for barely 2-3 minutes before carefully, and using clean oven gloves, gently invert each bun into the bowl of raspberry sugar and roll lightly to cover. Place on a rack to finish cooling.
-
If you have waited too long and they are no longer still hot, the sugar wont stick so instead brush the tops of the buns lightly with a little melted butter before dipping them. Extra decadent but very delicious!
-
Best eaten within 24 hours and serve warmed through with a pot of raspberry jam on the side.
Do refer to the blog post photos to help guide you.
This post contains affiliate links, meaning I will earn a little commission if you chose to buy items I’ve advertised, helping me to bring you all these recipes for free!
Like this post? Then why not try these related recipes:
-

- Bakewell Biscuits
-
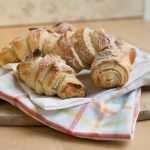
- Easy Almond Croissants
-
- Homemade Puff Pastry
Oh gosh, swooon!!! This is absolutely brilliant, and you have convinced me to try this danish pastry recipe of yours which you have been working on for a while. By the way, huge fan of the British Bake Off.
Why thank you Shumaila – I hope you enjoy the pastries. I did love the Bake Off, shame it’s finished for good (as we know it)…
Oh how lovely, how delicious, how I-must-bake-the-right-now post! Thanks
So the recipe looks fab, but I just had to say I ADORE your rolling pin! Must have!
Aw thanks Sarah – it was a gift years ago from my Hubby’s great aunty when we moved in together. It’s solid marble as is it’s little stand 😀 <3
Great article and recipe. Love the colors and of course, who wouldn’t love the product?
These are gorgeous!! The pink raspberry sugar and the pink polka dotted cake stand – swoon. I love your step-by-step photos; so helpful to explain how you’re rolling everything up.
Aw Hungry Hubby chose that cake stand for me a few Christmases ago – it always gets nice compliments 😀
Simply spectacular! I love using freeze-dried fruits and veggies – they’re so versatile.
Aren’t they great Jacquee? I love freeze dried fruits 😀
These buns look so pretty and fancy. You make them look so easy to make. I can’t wait to try them!
They are easy Katie! Just time consuming but totally delicious to eat 😀
Speaking from a source of inspiration! I would love these in the morning 🙂 I guess they are easy to prepare the night before and you can bake them in the morning? Or do you need to process them and form them in the morning too?
Hi Simon – you could definitely roll them up and leave in the fridge overnight to bake. I would bring them out of the fridge as soon as you can and allow at the very least an hour at room temperature if not two hours.
If not, you risk a poor rise and them being overcooked on the outside and doughy in the middle. Hope that helps 😀
These rolls look wonderful! Love the idea of freeze dried fruit!
These look just lovely, beautiful pix. I did not know there was a raspberry powder, now I am totally interested! Pinned!
Thank you Pat – I appreciate the Pin too! 😀
Those buns are absolutely beautiful! I love the raspberry sugar. Such a great idea!
These are so adorable. Perfect for a little girl’s sleepover.