
I was really surprised when I got my Instant Pot that it didn’t come with a full recipe for yogurt making, despite it being one of the features on which it is marketed. You’ll find a sketched out method in the instruction booklet but no specifics on how much milk you need and how much starter to add – essential info if you’ve never made it yourself from scratch before.
I’d given up on making my own yogurt years ago as I was using the Easiyo system which whilst delicious, was very expensive, you had to use a full sachet at once and there was too much sugar etc added for my liking. I’m really pleased to say that after a little reading up on yogurt making at home and a little experimentation, it really couldn’t be easier (or more delicious) to make your own Instant Pot Greek Yogurt.

Greek yogurt is something I have in the fridge all the time. Whether it’s with my morning granola, in cakes like my vanilla yogurt cake, alongside a curry feast or even used to make ice cream, we get through quite a bit in Casa Cranny.
My favourite brand of the last few years has been Liberté but at £2 per 500g pot, it is really pricey. Considering it costs approximately £1.50 per 2.2litres (4 pints) of milk at the moment in the UK, and even allowing for some of the weight of your homemade yogurt being whey (more on that later), you could easily make 3 times the amount for less than the cost of one pot of Liberté!
And one again, the beauty of making it in an Instant Pot is that it’s not a one trick pony device – you get the pressure cooker and slow cooker functionality alongside the yogurt making function. Bonus! One less gadget to give up precious worktop space for. Plus when you make your own, you can control the quality of the ingredients that you add to it – such as a blueberry compote sweetened with a drizzle of maple syrup, honey if Greek yogurt and honey is your thing or do as I do and simply stir in a little homemade vanilla extract to the strained yog.
I personally don’t sweeten it at all even if I add vanilla but this shouldn’t stop you; it will be infinitely better for you than store-bought alternatives for sure

Here’s a simple overview of the stages of making yogurt in the Instant Pot:
- Thoroughly clean and sterilise your equipment
- Low temperature pasteurise your milk
- Add in the starter (a small amount of leftover homemade or store bought yogurt*)
- Incubation
- Chill
- Strain
- … eat!
* = I used a small pot of Yeo Valley Natural Yogurt to make my first batch (and ate the remainder as mine incubated!)
It really is that simple. You can use skim, semi or whole milk as you prefer – it should not effect the set but the higher the fat percentage, the creamier the flavour and texture will be. The only “issues”, such that they are, that I have come across in making my own in the IP are:
- It sometimes it takes a couple of cycles to get your yogurt to the correct temperature initially which is crucial if you want it to set (it denatures the proteins in the milk as well as killing the pathogenic bacteria which would cause it to spoil)
- You have to be mindful of the incubation period needing 8-10 hours – i.e. don’t start this process at 6pm and end up having to get out of bed to chill and strain your yogurt at 2-3am!
- What you put in is what you get out – i.e. if you use a gallon of milk, you will get a gallon of yogurt. Halve the stated quantities if you don’t think you will use it all up in 2 weeks (which is the refrigerated shelf-life of homemade yogurt and it’s whey).

8 hours incubation gives a thick but creamy and mild yogurt. 10 hours gives more tang so adapt to your taste. For me, 10 hours gives me more flexibility as I’m not a morning person so won’t ever roll out of bed and into yogurt making mode immediately!
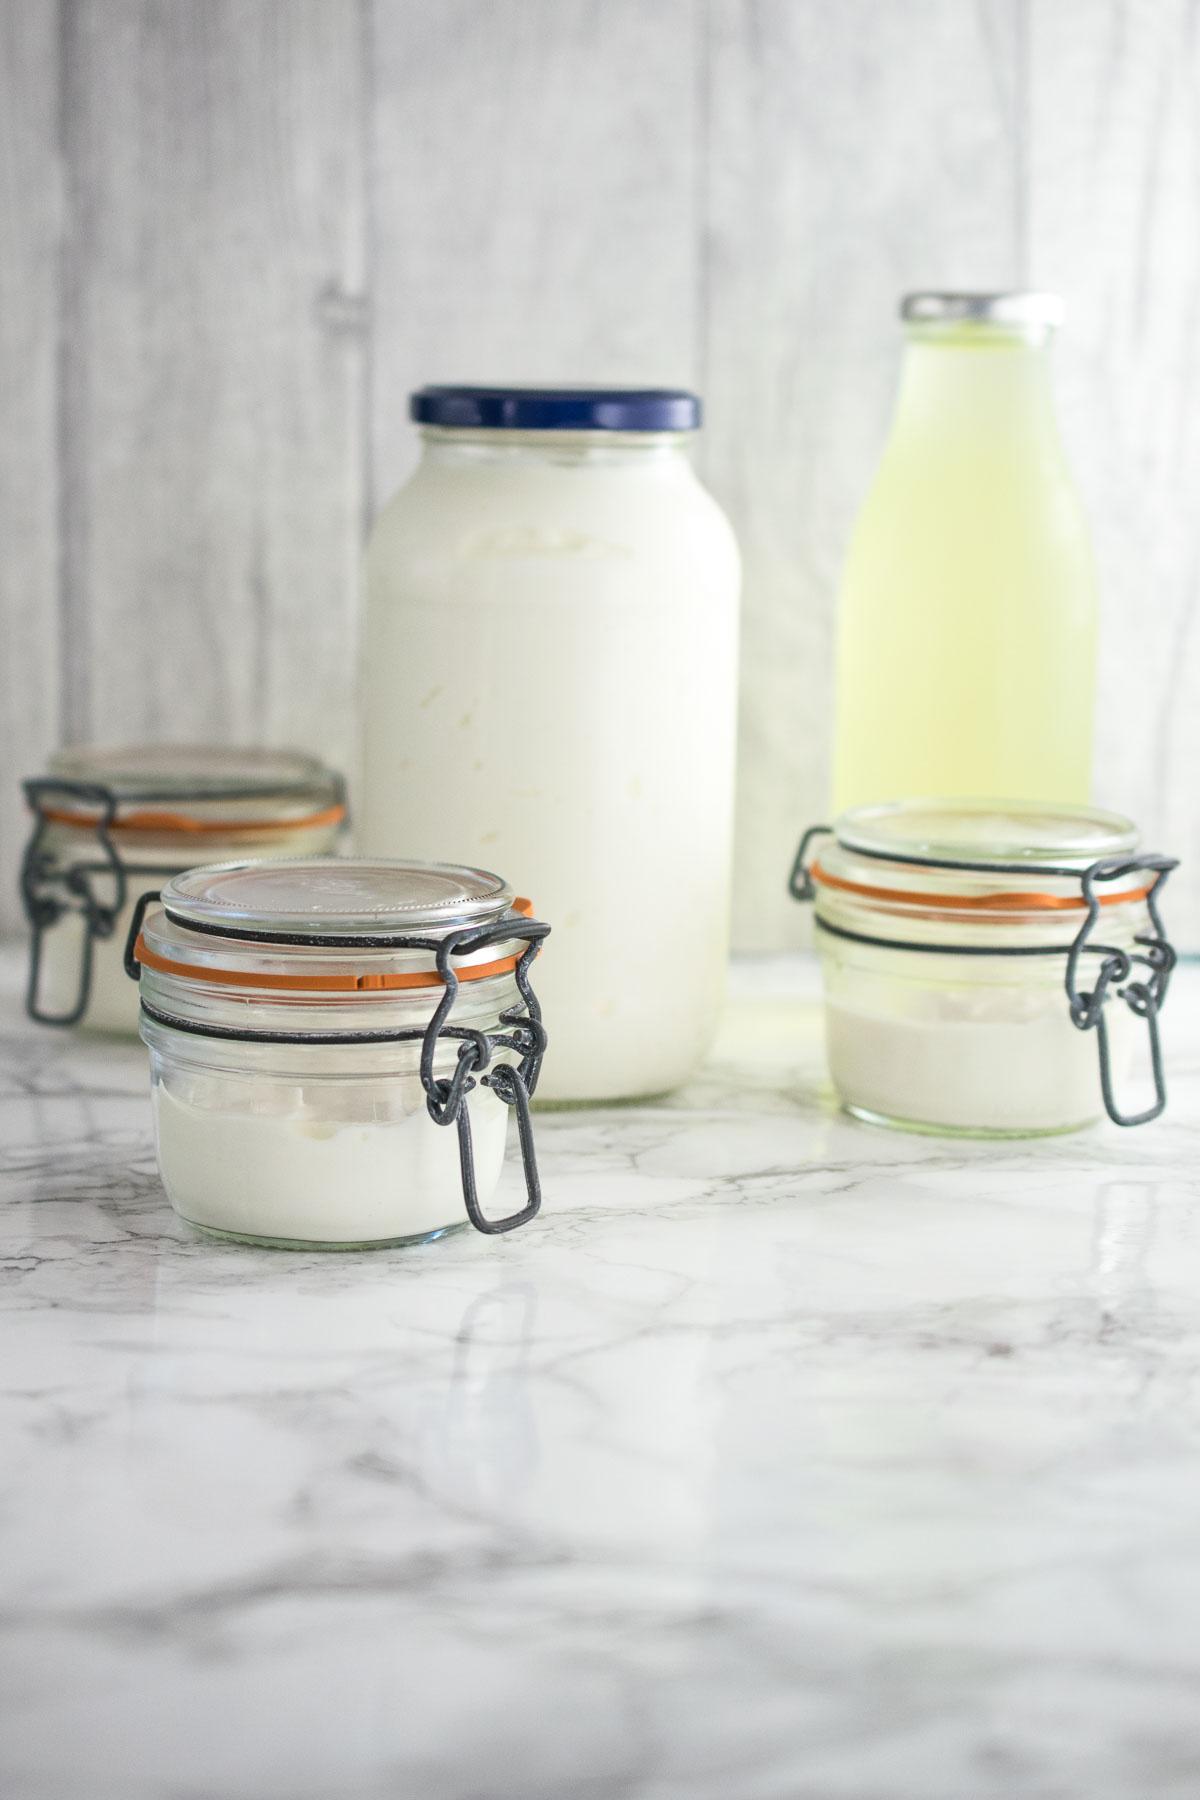
Straining for more or less time will also change the end product. I strain out about 500ml of whey (the light straw coloured liquid rich in protein and calcium) to give a thick set Greek-style yogurt. i.e. one in which you can stand your spoon up in! If you skip this step, you have Natural Yogurt which is thinner as none of it’s whey has been removed.
Or if you go the other way, add a little salt and strain overnight, you will have Labneh – a soft set Middle Eastern cheese. Salted whey can be added to a stock pot when making your own stock whereas the unsalted stuff if basically what you get in whey supplements but in liquid form, so add it to your smoothies. A top tip for gym bunnies everywhere – no need to buy it, you get your whey for free (or at least included in the price of the milk!).
As a very cool extra bonus, you can water down some of your yogurt with the whey until you get the texture you need and use this as a buttermilk substitute! How fab is that? I know home bakers in the UK will love this as buttermilk can be tricky to get hold of but this works very well indeed, better than attempting to curdle milk with lemon juice or vinegar, in my experience.

A word on cleaning and sterilising your equipment. This is to ensure your yogurt is safe to eat and will keep for 2 weeks (if you don’t gobble it up before then!). Scrub your Instant Pot Inner Pot clean with hot soapy water then give it a quick steam clean (see instructions below) to sterilise the inside of both the pot and lid. I have since bought these cute yogurt pots which I sterilise by passing through the dishwasher on the hottest cycle. If you don’t have a dishwasher, wash these in hot soapy water, rinse well then pop in the oven on 100˚C until dry. You will need to wash and scrub the lids then leave to dry.
A final word goes to food safety and also making sure your yogurt is a success – you definitely need a reliable thermometer to check the milk with. You must know by know I am a huge fan of the Thermapen – it is simply the best, most reliable thermometer you can buy.
Worth splurging a little cash on and after making your yogurt, you can check your roast chicken is at a safe temp, use it to make perfectly creamy and softly set fudge plus jam making will never give you stress again! I was shocked to see my Heston Blumenthal thermometer was 20 degrees cooler than my Thermapen in a moment of doubt as to whether a cheaper alternative will do.
P.s. you will find recipes/methods for making the yogurt in individual pots inside the Instant Pot – I just find that too much faff and prefer to make a large batch which I then portion off when ready. And yes, that is a large mayonnaise jar in the photos – I fill that full of “plain” Greek Yogurt then add vanilla to the remainder which I keep in smaller glass jars. Helps me not serve vanilla yogurt on my curry lol 😉
- 1.5 litres whole milk 6 cups
- 2 tbsp Greek/natural/live yogurt* rounded
- Vanilla extract start with 1 tsp per 500ml yogurt, then adjust to taste
- Honey or maple syrup to taste
- An Instant Pot
- A reliable thermometer
- A whisk
- A small bowl
- A large sieve lined with kitchen roll or muslin OR a "nut milk bag" cheesecloth
- A jam funnel is helpful for neat portioning into small glass yogurt pots
- Glass jars which can be sterilised to store the yogurt in
-
Start by washing the stainless Inner Pot in hot soapy water, as well as the inside of the Instant Pot lid, and rinse well. Place 250ml water in the inner pot, place the lid on and set the valve to Sealing. Select Manual, check it is on High and set to 5 minutes, doing a QPR. Discard the water.
-
Pour the milk into the clean Inner Pot and put the lid back on. Press YOGURT. Press ADJUST and the display will show "BOIL". This cycle takes about 25-30 minutes.
-
When complete, remove the lid and whisk the milk and check the temperature, looking for 83˚C minimum. If not there yet, repeat this cycle once or even twice more. Press Cancel. Note - it does not matter if the vent is open or closed in yogurt making.
-
When the milk is at 83˚C, remove the Inner Pot carefully and place in a sink filled with a few inches of cold water in to cool the milk down quickly. Whisk frequently, cool to 43˚C. Discard any skin** and take the pot out of the sink, drying the outside off completely.
-
Take out a ladleful of the hot milk and in a small bowl, whisk in the yogurt starter until smooth then pour it into the hot milk and replace in the base of the IP. Replace the lid. It does not matter if the vent is open or closed in yogurt making.
-
Press YOGURT. The display should read "8:00". Adjust using the ADJUST button to "10:00" if you want tangier yogurt. Boomski! You are done for the day - the IP will count up to 8 or 10 hours from 0 and the alarm will sound when it is finished. Have a good night's sleep!
-
When the incubation phase is complete, cool the yogurt at room temp for about half an hour before covering the pot and transferring to the fridge to chill fully. This may take 6-8 hours. Sterilise your jars by washing in hot soapy water, rinsing and drying in an oven at 100˚C or run them through a dishwasher on high. Do not touch the insides with your finger once sterile to prevent contamination.
-
Set a large sieve lined with several pieces of kitchen roll over a large bowl (my KitchenAid glass bowl is a perfect size for the job) and scrape all the yogurt into the sieve. Press 2-3 more pieces of kitchen roll to the surface of the yogurt and return to the fridge to strain for at least 2 hours for a good and thick yogurt. This can be done with a nut milk bag if you have such a thing too!
-
If adding any flavouring or sweetening agent, such as vanilla, honey or maple syrup do it now then spoon into your jars and seal the lids tightly.
-
Don't forget to save a couple of tablespoon's worth of plain yogurt for the next batch.
*= to begin with, you will need to buy a yogurt to start off your own. Once you have made a batch, reserve a couple of spoonfuls to use as your "starter" for the next batch. Freeze in ice cube trays if not using immediately - homemade yogurt will however keep for up to 2 weeks in sterilised jars in the fridge. If you have yogurt regularly, you won't need to freeze as you can start preparing a new batch the day before it runs out.
**= if a skin forms, the yogurt will be "bitty" so do remove it before incubation.
This post contains affiliate links, meaning I will earn a little commission if you chose to buy items I’ve advertised, helping me to bring you all these recipes for free
Like this post? Then why not try these related recipes:
-

- Soft & Creamy Vanilla Fudge
-

- Homemade Vanilla Extract
-

- Homemade Creme Fraîche
A great website to read all about homemade yogurt is Team Yogurt.
Wow, this looks amazing. I read so many great things about instant pots, I need one ASAP. I am always starting my day with some Greek yogurt and granola. Yum!
It would be perfect for you then Jovita!
We love yogurt, especially Greek one but I’ve never tried to make it at home… well I might just give it a try; thank you
It’s much easier than you might thing Agata and being so economical, there really isn’t a reason not to make your own!
I never knew making yoghurt was so easy! I will definitely have to give it a try. Yoghurt and granola is one of my favourite things.
It’s a great breakfast and even snack, yogurt and granola! If you have a reliable thermometer, there really isn’t anything to making your own yogurt. I’m hooked now – you can’t move for jars of the stuff in my fridge lol.
I’ve never heard of an instant pot before reading your post. Just did a little Googling 😉 Your recipe using this device really does make one impressive looking yoghurt, so creamy and delicious looking.
Thank you Sara! It really is very creamy and delicious. I have written a post all about getting to know your Instant Pot which may help if you’ve only just come across them —>>> http://www.everynookandcranny.net/what-you-need-to-know-about-the-instant-pot/
Wow – this makes DIY yogurt look so easy – and LUSCIOUS!
Thanks Shashi – luscious is so the right word for this delectable stuff!
another great idea Jo! Will save this to my pinterest 🙂
Thanks Ann! Glad you like it 😀
How awesome -making your own Greek Yogurt! I really wanna try doing that with coconut milk!
I really fancy having a go with coconut milk too – I believe it’s just as easy to make 😀
Fab
Fab back to you Hungry Hubby!
Great article. My wife loves Greek Yoghurt and we all love the IP so I really want to give your method a try.
Can I ask about stage 7 – do I read it correctly that we need to put the IP inner pot into the fridge?
Cheers
Lee
Hi Lee – thanks so much for stopping by and commenting. Yes, you put the whole inner pot with the yogurt in, into your fridge. It’s smaller than you think but I did have to move the shelf up one notch to get it into mine.
You could decant it into something smaller if you are really struggling but I prefer to minimise the washing up 😉
Just made this and it turned out perfectly! As advised, I measured the temp after the first BOIL cycle and needed to run a second one. Thanks for the detailed instructions.
You’re welcome Susan – it’s funny that there seems to be no rhyme or reason why it sometimes needs a second, or even a third boil, but it does. If I figure it out I will update the post but I suspect that the temp that the IP reaches on the boil cycle is the variable afoot… Very glad you enjoyed the yogurt and thanks for letting me know!
My new microwave makes yoghurt! Oh my we eat lots of yoghurt so your recipe will be done next month! I keep you posted for sure (after my chocolate exam)
Best of luck with the chocolate exam Ann – but you have done so well to this point, I am certain this will be no different! I looked at a microwave yogurt maker but as I have the IP, it seemed a silly purchase.
How handy that your microwave has a yogurt setting!
Oh yeah! Thanks for the wonderful guidance, as this yogurt is only the second recipe I’ve made with the Instant Pot. I’m very pleased with the result.
That’s great Meredith, thank you for letting me know! I hope you continue to enjoy using your Instant Pot and I’m glad my blog post was helpful for you x
Can this be done with fat free milk? I am constantly going through containers of 0% fage greek and would LOVE to make my own. Also, have you ever tried adding flavor to it? Awesome recipe cannot wait to try this out!
Hi Michelle! Take look at my later post about UHT yogurt making. Is got loads of detail about how the different types of milk come out. The short answer is yes, use whichever fat content milk you like but the lower the percentage, the more difficult it is to get a good set. So I would always recommend adding at least 4 tbsp of skimmed milk powder per litre of milk if using the lowest fat milk there is (it really thickens it up a lot – you may not need to strain at all depending on how thick you like it) xx