
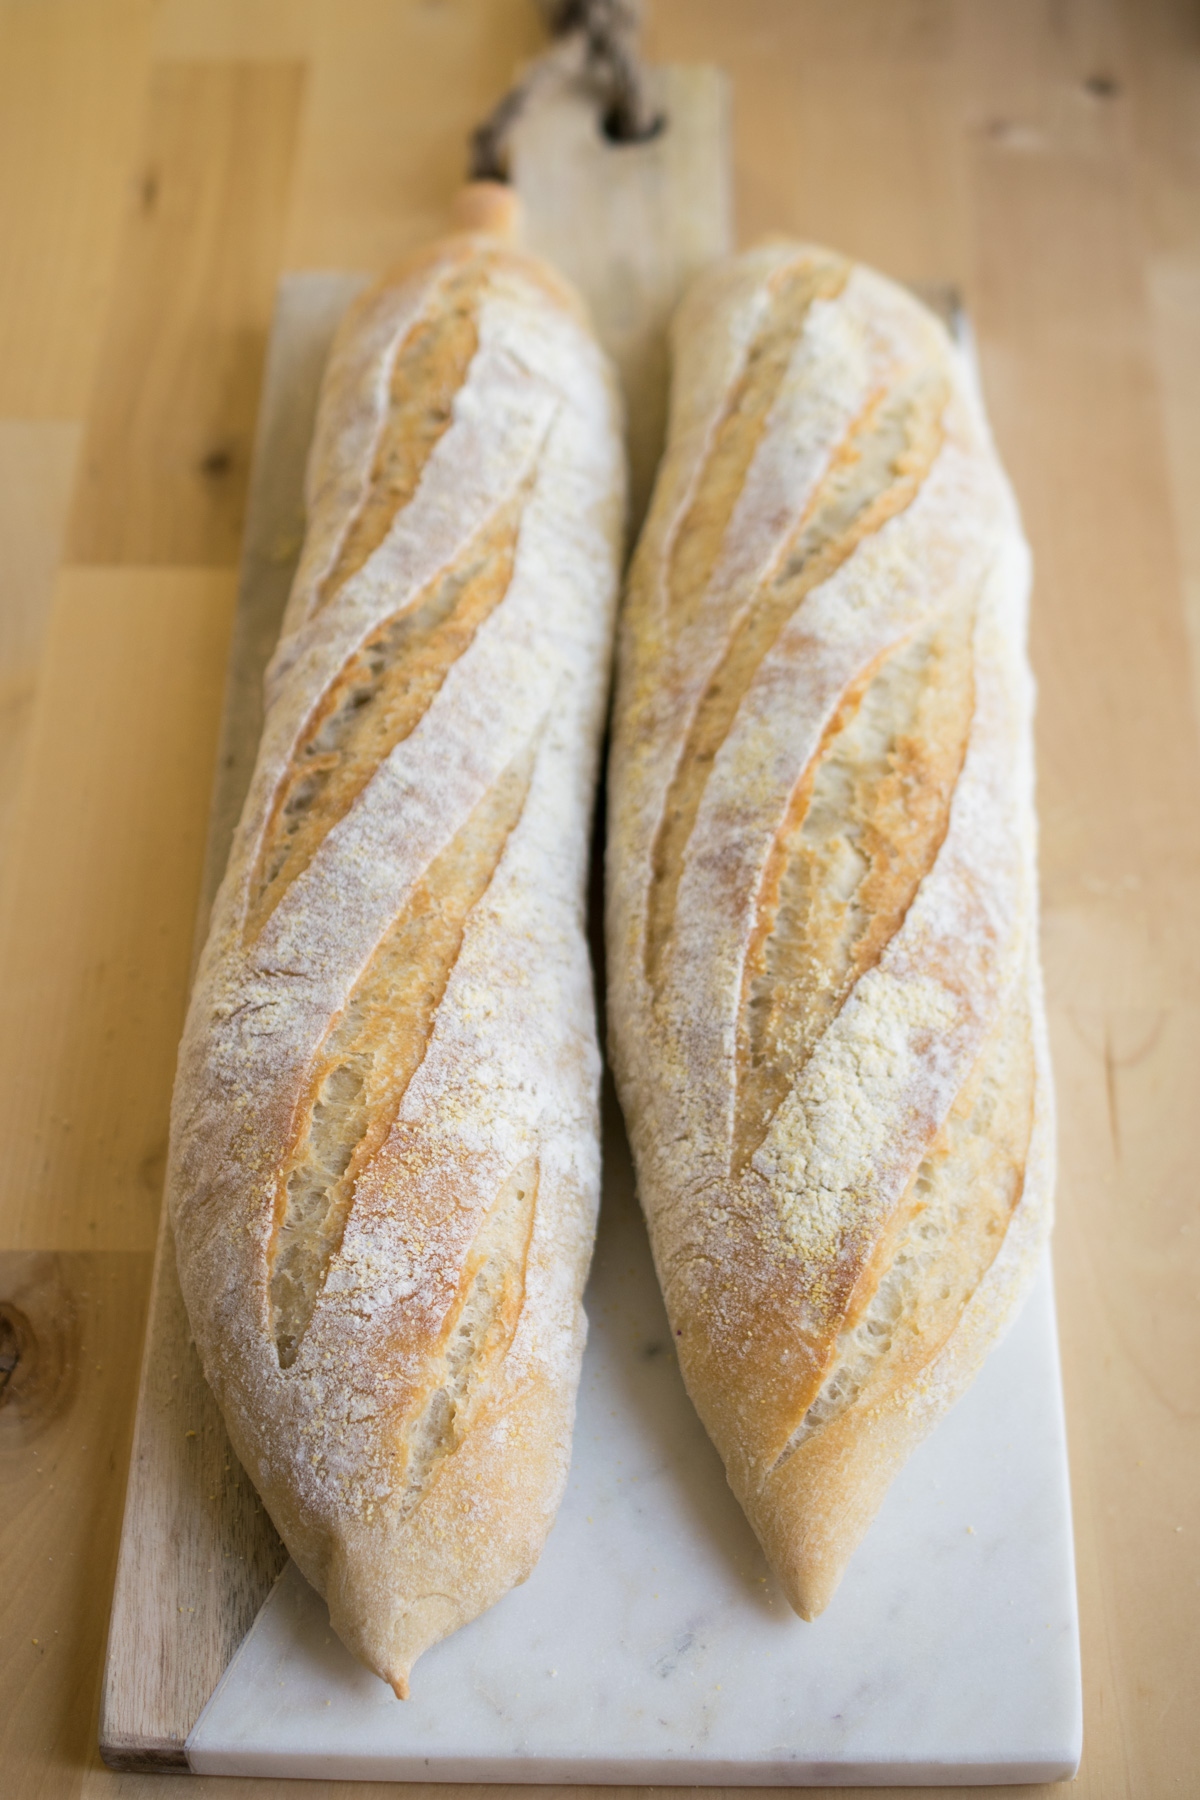
Yesterday, we spoke about making artisanal bread at home. The full recipe is already there for you (have any of you mixed up your own poolish yet?). Today, in part two, we’ll be looking at the ten second need step by step so you can see how it works – living proof that you don’t have to break a sweat to make fantastic, beautiful bread at home!
The Ten Second Knead
This is a technique I first learnt about in one of my most cherished baking books – Short and Sweet
by Dan Lepard. It is a fabulous read full of fascinating info on the science behind baking and the reasons why you do certain things. I’m programmed to question why, it’s the scientist in me and once I’d read Dan’s bread chapter I was hooked on the technique. It was reinforced when I did a course at my local bakery and they teach the same method.
The premise is that if you mix up the ingredients for a dough, simply leaving them to rest allows the gluten to develop, without interference from you in the way of strenuous kneading. Using a poolish which is mix of flour, water and a tiny pinch of yeast left to prove for 24 hours, (thus multiplying the yeast naturally rather adding the large amounts you need in more traditional, quick to prove breads) gives a hint of sourdough tang. It’s more acceptable to kids (and grown ups!) who may not like the full throttle sourness of sourdough too. A good active poolish will be bubbly and well risen when it’s ready and whilst it’s adding yeast to the mix, don’t worry at the start about knocking the air out – it’s more important as a flavour booster and the dough has plenty of time to prove.
At first, the dough is very uneven and shaggy. Expect it to not stretch at all and it may even “snap” as you pull it about.
I love the rapeseed oil spray you see in the red can here – so handy to spritz onto your hands for kneading purposes without adding too much extra oil to your dough. I get mine in Costco but I know others get similar in supermarkets.
After the second lot of kneading, the dough should feel a lot more uniformly textured and smooth. You’ll get a little more stretch but not much. This second video is actually the third “knead” of four – your dough is building up a lot more strength as the gluten develops and the elasticity hasn’t fully kicked in yet.
The final of the ten second kneads produces a soft, elastic, smooth dough – see how I can pull it out of shot of the camera compared to the couple of inches it would stretch before snapping in the first video? I use a marker pen to cross off the kneads as I go on the cling film I use to cover the bowl as the dough rests, or I’d be likely to forget how many I’ve done! You can leave the dough to rest for upto 20 minutes if you need to but during the kneading phase, don’t leave it any longer. Now that we’ve developed the gluten, it’s time to put the dough to bed for upto 2 hours to “bulk prove” (i.e. let the yeast get to work, release their carbon dioxide and cause the dough to rise to double it’s original volume before you divide it and shape it, hence the word “bulk”).
Don’t forget to come back for part three of three where I’ll show you how to shape and bake your French bread.
Get part one here – French Bread (Part 1 of 3).

- Pinch of dried yeast
- 200 g strong bread flour
- 200 g cold water
- 400 g strong bread flour
- 6 g sea salt
- 2 g dried yeast
- 200 g cold water
- Oil/oil spray to grease with
- Extra bread flour and a couple of tbsp of semolina or polenta to dust with
- You will also need a clean smooth cotton tea towel or "couche"
- A dough scraper is helpful but a spatula will do
- A "lame" bread scorer, razor blade or small sharp serrated knife to score with
-
Make the poolish by mixing all three ingredients together until a soft dough is formed then cover with cling film and leave for 24 hours in an ambient temperature room.
-
The next day, put all the dough ingredients into a large bowl and scrape in the poolish which should be well risen, foamy and bubbly (aka nice and active).
-
Mix with a spatula or dough scraper until you form a "shaggy mess". Cover with cling then leave to rest for 10 minutes.
-
Now you need to do 4 "ten second kneads" with 10 minutes resting time in between. Check out the videos if you are unfamiliar with the technique. Simply grease your hands lightly then pull out the dough starting at one side and working around, doing ten pulls, returning the dough to the centre each time. It will be very tight the first knead and get looser each time you knead the dough.
-
When all 4 kneads completed, grease your bowl and dough then cover with cling and leave to rest for 2 hours.
-
Now comes the shaping. Divide the dough into two. There's no need and if anything, it is undesirable to knock the air out so handle the dough gently. On a lightly floured surface at out to a rough square then fold in opposite sides to the middle. Take one of the now thin ends and roll up to a loose sausage shape, seam side down. Repeat with all dough portions. This is "pre-shaping". Cover with cling and leave to rest for 20 minutes.
-
Heavily dust your tea towel with flour and sprinkle over the semolina or polenta (it is an excellent insurance against sticking!).
-
Working with one piece of dough at a time place on a lightly floured surface, seam side up and short side facing you. Refer to the videos for more help here. Take one side of the dough and start folding it in from the end nearest you all the way up to the top, pressing down to seal it in the centre as you go. Spin it 180˚ and repeat on the opposite side - you should have a flat wide sausage shape with a seam in the middle. Now, essentially flop one half of the dough over the other, using the heal of your hand to seal it tightly, pinching with your fingers if needed to ensure it is sealed. The ends will be pointy and the batard shape will be more apparent - gently roll a few times with light pressure from the centre out to the very tips and stop. Pinch to seal any bits which have opened on the seam and transfer onto the floured tea towel, seam side UP. Leave 3-4 inches between the shaped breads and repeat for the remaining portions.
-
Once all the bread is shaped, sprinkle with more flour then pull the tea towel up between each shaped dough portion and fold the tea towel over gently to cover. Use a second one or the leftover cling film to cover the ends if it is not big enough to cover the shaped breads.
-
Preheat the oven to 250˚C (which essentially means as hot as it goes in domestic ovens) with the shelf positioned low down in the oven and a tray of water beneath it to create steam. Place a flat oven tray on the shelf to preheat with the oven.
-
Leave the dough to prove for 60-80 minutes then when ready, uncover the dough and this is where I like to flour a reusable silicone baking sheet dusted with flour and polenta then flip the dough GENTLY on to it, seam side DOWN and transfer on another baking sheet to the one which is smoking hot in the oven by now. STAND BACK when you have steamed your oven when opening the door so not to burn your face and once the bread is in, close the door gently and turn the oven down to 220˚C.
-
Bake for 30-40 for batards. Transfer to a rack to cool before serving.
Do watch the videos for each stage before you start - all of this is much easier to see than say!
Working with lightly greased hands and lightly floured worktops is to be encouraged.
At no stage do you "knock the air out" of the dough - work with light hands and a tender touch.
This post contains affiliate links, meaning I will earn a little commission if you chose to buy items I’ve advertised, helping me to bring you all these recipes for free!
Like this post? Then why not try these related recipes:
-

- Rosemary Onion Buttermilk Bread
-

- Lightly Malted Sandwich Loaf
-
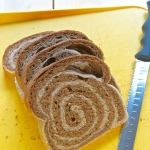
- Marbled Rye Loaf